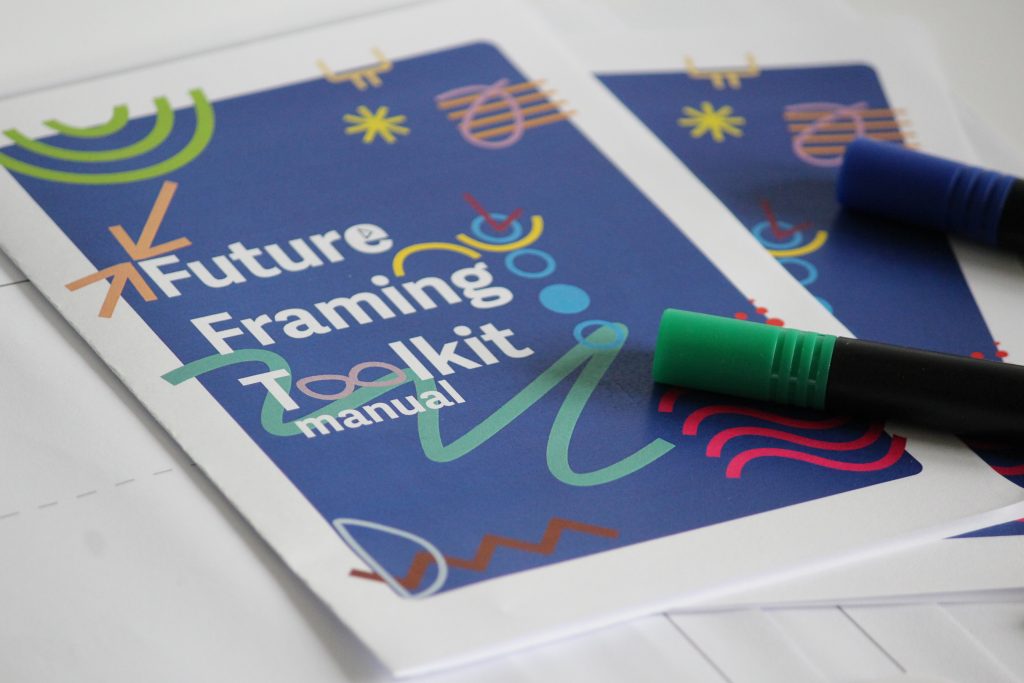
Some people might not be familiar with a co-creation session, futuring methods, or in general with creating visions. This manual aims to simplify and clarify the method for beginners. Participants can print this in A4 and fold it to become a usable booklet. This booklet provides suggestion routes to make choosing between tracks and methods easier.
beginner card deck
The beginner card deck provides suggestions through its topic cards, so participants don’t need to do and think of it all alone.
expert card deck
The expert card deck excludes the suggestive topic cards and only incorporates theme cards. This provides the structure for the workshop without additional suggestion cards.
future framing
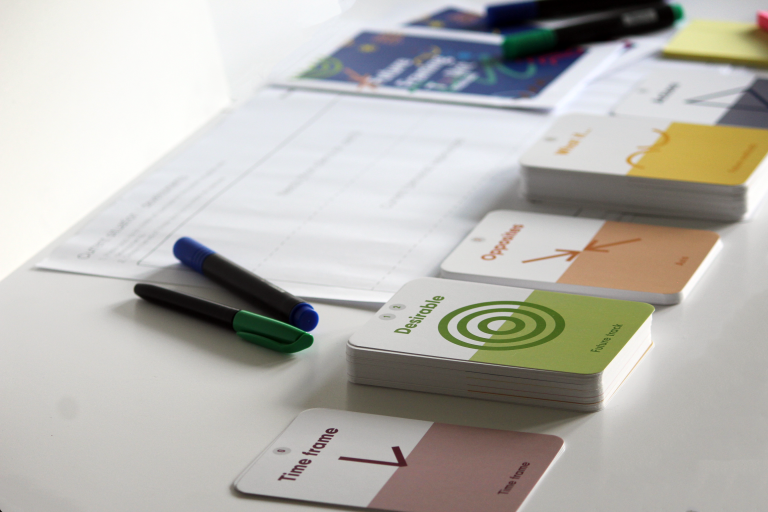
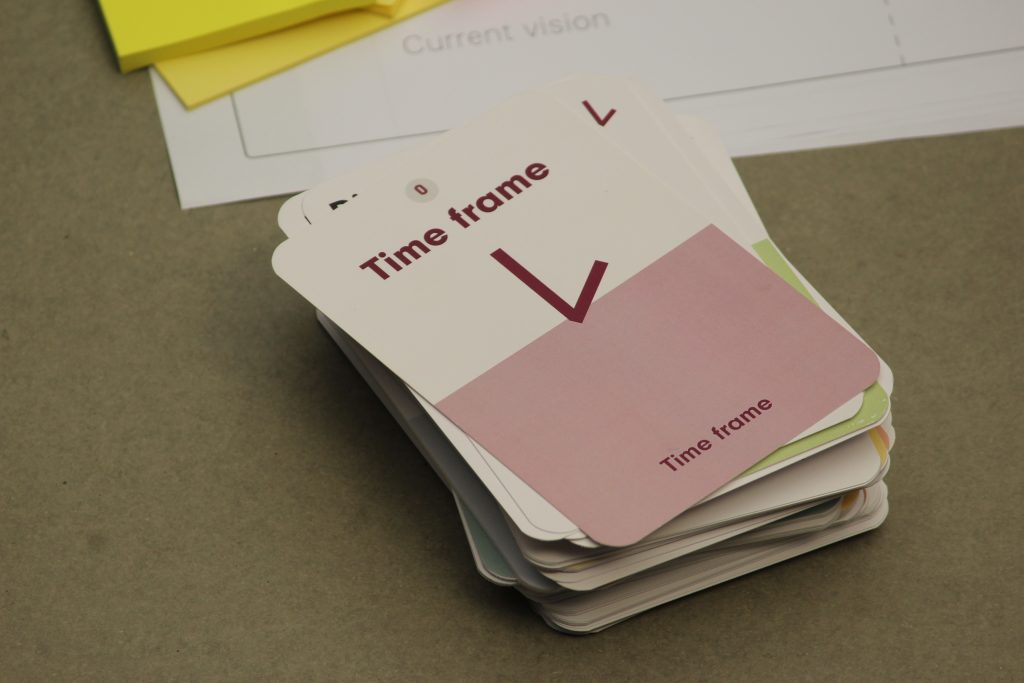
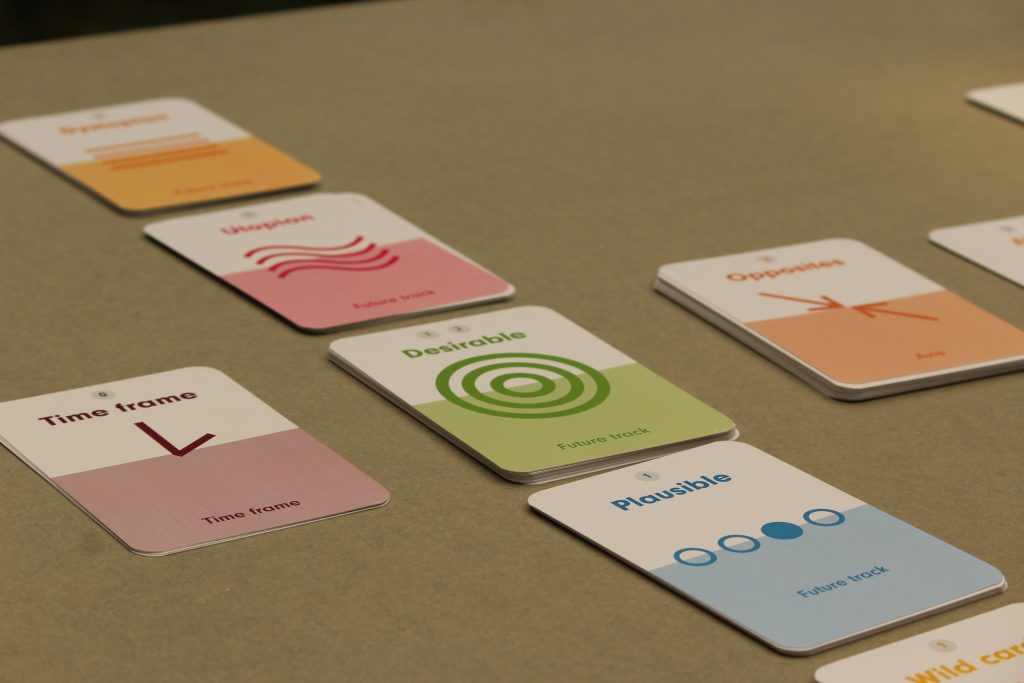
Card deck
The card deck is the main guide throughout the session, participants can decide on the route they take according to their session goals. There are theme cards, these introduce the theme of this track, when to use it, and how to use it. For example in phase 1 participants can decide to include the plausible track. Within each theme, are topic cards and these allow participants to further scope or specify the topic they want to focus on. If we take the example of the plausible topic cards again, participants can decide to focus on technological advances.
How does it work? The card deck follows the phases participant go through, highlighted by a number on top of each theme card.
Two types of card decks are available to avoid unnecessary items: a beginner and expert card deck.
future framing
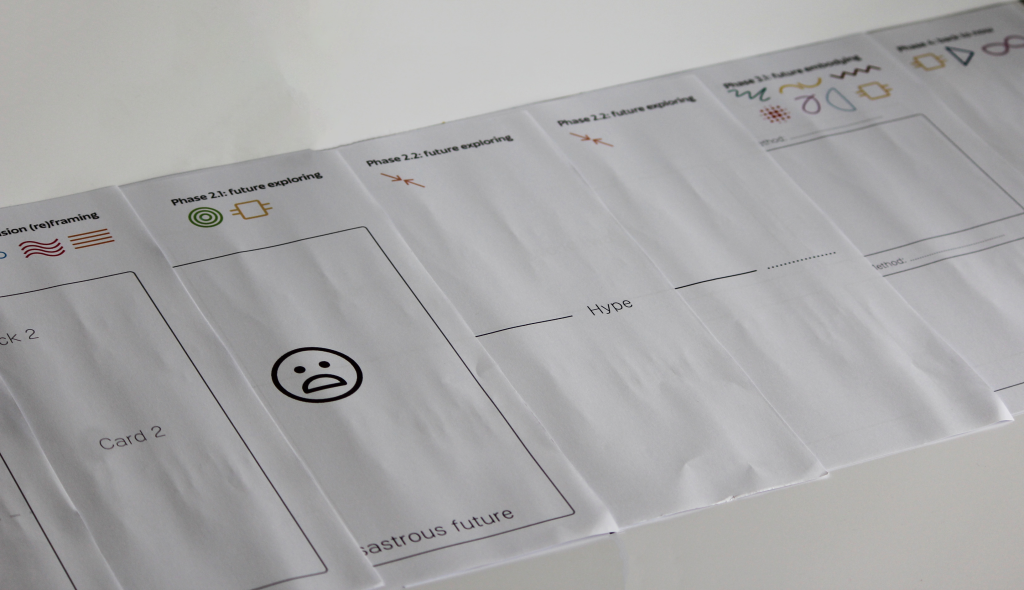
Underlayments
The underlayment provides the basis for participants to work on, this is especially useful for participants working without facilitator. Since this guides them in what output they should create. Each underlayment also includes a step-by-step guide and shows which, if any, card deck themes can be used during this phase. Each underlayment is shown and explained per phase.
future framing
Inspiration museum
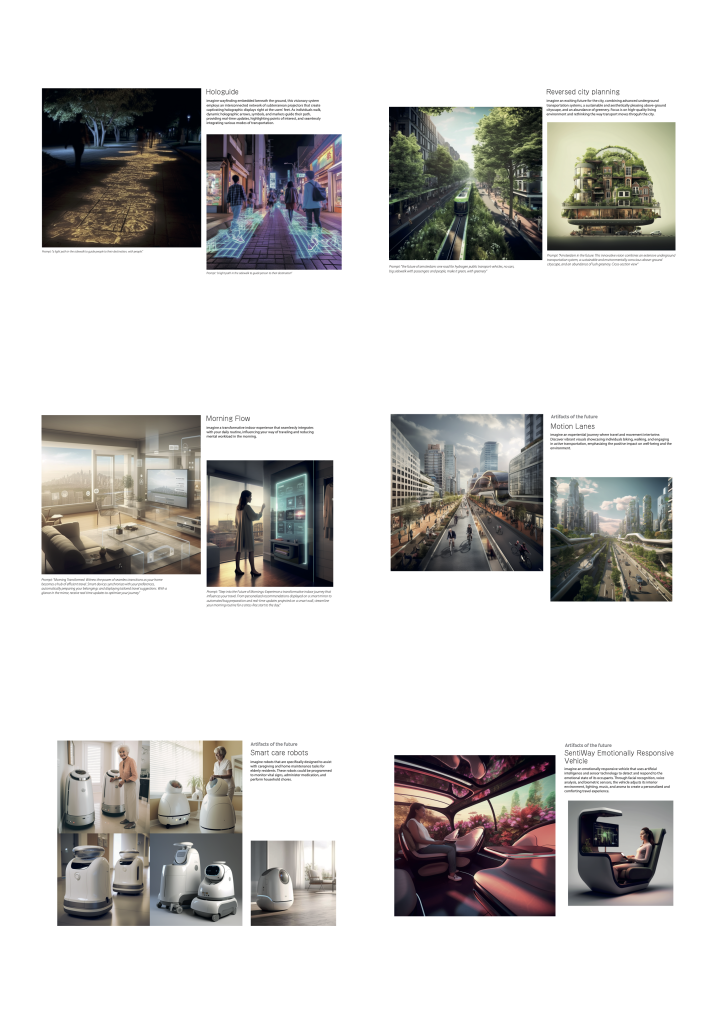
The museum consists of two parts with three concepts. The first are concepts of the future and the second are artifacts of the future. The difference is the focus on the type of material, the first concepts can be something non-physical or non-product oriented. Artifacts of the future focus on new types of technologies and how these influence daily life in the future.
The goal of the inspiration museum is to provide inspiration with some out-of-the-box ideas and challenge participants’ preconceived ideas or biases over the future. Additionally, it provides examples of the abilities of AI to showcase what kind of concepts the participants can create during the session. Some concepts contain the prompts used to create the images in Midjourney. This shows the diversity within the prompts and their correlating outcome. With a facilitated session, all inspiration museums are custom-made to fit the session topic. For the online toolkit, there are certain sets available from previous sessions.
future framing
Session guidelines
We describe the guidelines in relation to the session. These focus on time, space, and materials.
Time
To achieve a valuable output and allow enough time to be spent on AI and visualization; it is recommended to split the workshop into two parts. We recommend two half-days. Decide the main outputs and the existing elements. For example, if a company has a sturdy vision statement, moving through this phase might go quicker and it would be an effective session to split the workshop into phases 1&2 and 3&4. While in another session there is no or no well-defined vision statement. Then consider first creating a vision statement and making that one workshop.
Materials & space
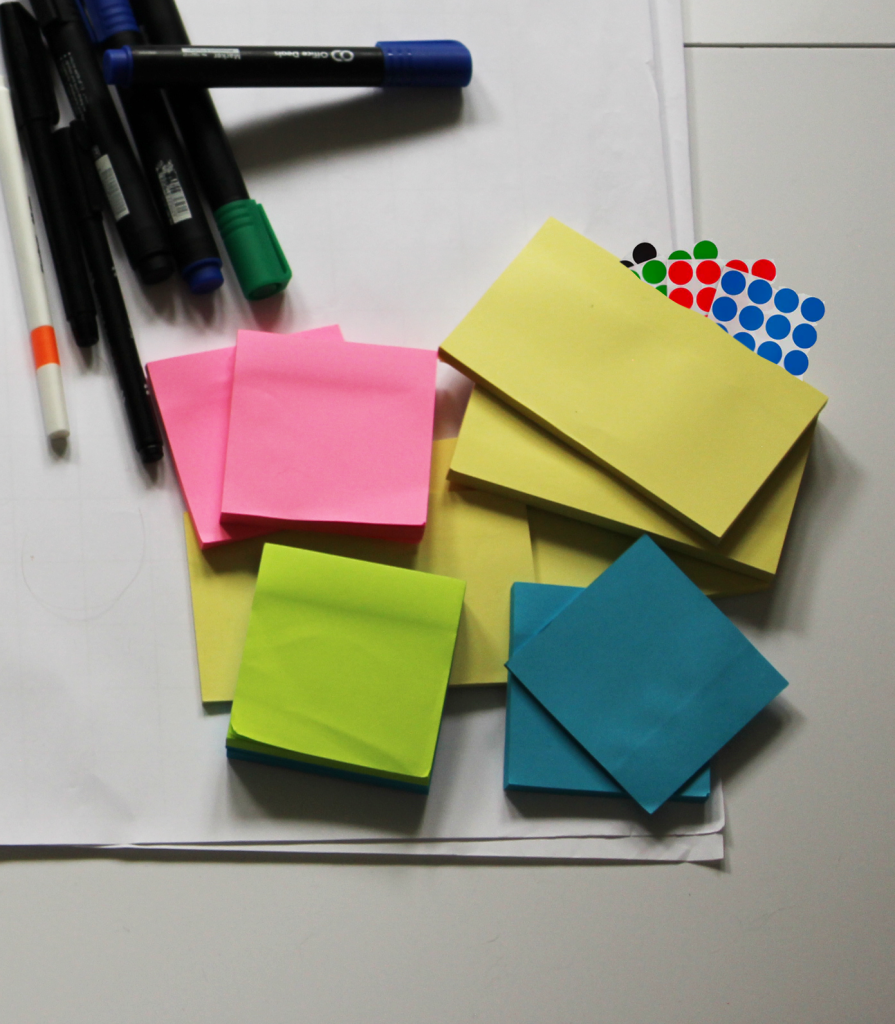
Materials to facilitate a useful session include: post-its, empty A3 paper, A2 papers, fineliners, (flip-over) markers, and dot stickers. For the sessions, it is useful to conduct it in a closed space like a meeting room. To get them out of their familiar environment, to provide space and less noise so participants can focus.
A specific list:
Post-it block: at least one per individual
A3: 2/3 sheets
A2: 3/4 sheets
Fineliners: at least one per person
Flip-over markers: at least one per person
future framing
Miro board template
The toolkit includes a set-up for an online workshop. This consists of a Miro board, this workshop follows a slightly different set-up. Each white block represents a step within the workshop, with several empty blocks forming a digital whiteboard for participants to work on.
The steps are as follows: first an introduction, a demonstration of chatGPT and Midjourney, creating a vision (using chatGPT), determining the vision statement within the group, diving into different future methods (using chatGPT), visualizing the future vision (using Midjourney), pitching concepts when facilitating workshops in multiple different groups, and closing the workshop with post-its to provide feedback.
future framing
Feedback
Did you use the future framing toolkit? Let us know your thoughts! We’d love to improve to make the toolkit more useful and easier to use.